Lighting is one of the most important parts of real estate photography. Great lighting makes rooms look bigger, cleaner, and more welcoming.
Bad lighting, on the other hand, can make even the best homes look dull and lifeless.
In this guide, you’ll learn real estate photography lighting tips to take stunning real estate photos. You’ll learn a lot from this article even if you’re just getting started.
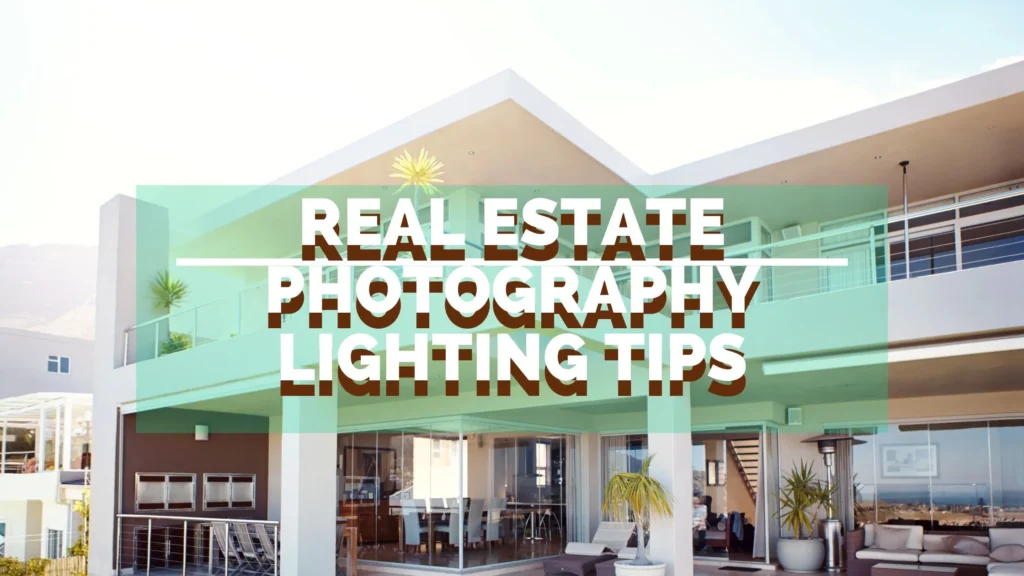
Real Estate Photography Lighting Tips 2025
We’ll cover everything from natural light to flash setups, camera settings, and gear recommendations.
Why Lighting Matters in Real Estate Photography
Good lighting helps your photos look bright, clear, and sharp. It brings out the colors of the room, makes the space feel open, and shows details clearly.
Most buyers view listings online. If your photos are too dark or full of shadows, they might skip the property.
But if the images are well-lit, they will be more interested in learning more or even booking a visit.
Natural Light is Your Best Friend
Start with natural light whenever possible. Sunlight gives a soft, warm tone that works well in real estate photos.
Here’s how to make the most of it:
- Shoot during the day — ideally mid-morning or just before sunset.
- Open all curtains and blinds to let light in.
- Clean windows to avoid smudges or reflections.
- Turn off some indoor lights if they clash with sunlight.
Natural light works best in rooms with large windows. But if a room doesn’t get enough light, you’ll need to add artificial lighting.
Understand Color Temperature and White Balance
Every light source has a color temperature. Some lights are warm (yellow), while others are cool (blue). Sunlight, LED lights, and bulbs all have different temperatures.
Mixing different light sources can cause color issues in your photos.
For example, a room lit by both yellow lamps and cool window light can look strange.
To fix this:
- Set the white balance on your camera manually.
- Use the same type of bulbs if adding artificial lights.
- In post-processing, adjust white balance to make colors look natural.
Know the Main Types of Lighting
You can use a mix of these lighting types in real estate photography:
Ambient Light
This includes the natural and existing light in the room (ceiling lights, lamps). It sets the base brightness of the space.
Natural Light
Comes from windows or doors. Often used as the main light source, especially during daytime shoots.
Flash Lighting
Used to brighten dark areas or balance window light. Can be used on-camera or off-camera.
Continuous Light
LED lights or softboxes that stay on. Easier for beginners because you can see the light before taking the shot.
Each type has a role. Learning how to mix them makes your photos look professional.
Using Flash the Right Way
Sometimes natural light isn’t enough — especially in rooms with no windows or on cloudy days. That’s where flash helps.
Use flash to:
- Light up dark corners
- Brighten rooms evenly
- Reduce contrast between bright windows and dark interiors
Tips for using flash:
- Bounce flash off the ceiling or wall instead of pointing directly at subjects
- Use off-camera flash for more control
- Keep the light soft to avoid harsh shadows
- Adjust power to match the room brightness
You can use basic speedlights with bounce cards or umbrellas for better results.
Use Light Modifiers and Reflectors
Soft light looks better in interiors than harsh direct flash. You can soften light using:
- Softboxes: Spread light evenly and reduce shadows
- Umbrellas: Good for small spaces
- Diffusers: Sit in front of lights to soften output
- Reflectors: Bounce light into shadowy areas
Reflectors are useful near windows to spread light evenly. You can even use white foam boards for DIY reflectors.
Dealing with Mixed Lighting
A common problem in real estate photography is mixed lighting. When different light sources combine and cause color shifts.
Example: You shoot a living room with warm ceiling lights and cool daylight from windows.
The result?
A photo with blue and yellow tones in different parts.
Solutions:
- Turn off some light sources if they don’t match
- Use lighting gels on flash to match the room’s color temperature
- Adjust white balance in editing software
Aim for a consistent light temperature across the whole scene.
Lighting Tips for Specific Rooms
Every room has its lighting challenges. Here’s how to handle them:
Living Room
Use natural light + flash to balance windows. Avoid blowing out the view outside.
Kitchen
Use flash to remove shadows under cabinets. Reflectors help fill dark spots near appliances.
Bathroom
Tight spaces need small softboxes or bounce flash. Watch for reflections on mirrors.
Bedrooms
Use window light if possible. Add LED panels for soft fill light if the room is too dark.
Hallways and Entryways
These are often dark. Use portable LED lights or a flash bounced off the ceiling.
Best Camera Settings for Good Lighting
Using manual settings gives you the most control. Here’s a basic setup:
- ISO: Keep between 100–400 for clean images
- Aperture: f/8 to f/11 for sharp details
- Shutter Speed: Use slower speeds with a tripod to let in more light
- White Balance: Set manually to match the lighting
Use exposure bracketing to take multiple shots at different exposures. This helps when editing or creating HDR photos.
Post-Processing for Perfect Lighting
Editing is the final step in perfecting the lighting. Use software like Adobe Lightroom or Photoshop.
Adjust:
- Exposure
- Highlights and shadows
- Contrast
- White balance
- Clarity
Use HDR merge or exposure blending to balance indoor and outdoor light (like windows). This technique keeps detail in both bright and dark areas.
Recommended Lighting Gear
Here are some lighting tools that work great for real estate photography:
Godox TT600 Flash
Affordable speedlight with wireless control. Great for bouncing light.
👉 View on Amazon
Neewer 660 LED Panel Light
Portable, powerful, and adjustable. Works well for interior shoots.
👉 View on Amazon
Fovitec Softbox Lighting Kit
Perfect for soft, even lighting. Good for kitchens and bedrooms.
👉 View on Amazon
Neewer Reflector (5-in-1)
Reflects or diffuses light. Easy to carry and very affordable.
👉 View on Amazon
These products help you light up any home professionally, even on a budget.
Common Mistakes to Avoid
Even experienced photographers can make lighting mistakes.
Here are some to watch out for:
- Only using overhead lights (causes flat, dull photos)
- Mixing light sources without balancing color
- Shooting into windows without adding fill light
- Overexposing windows and losing outdoor details
Check your images on a computer to spot lighting problems early.
Frequently Asked Questions (FAQs)
Can I use only natural light?
Yes, in well-lit homes. But darker rooms will need flash or LED fill.
What’s the best light temperature?
Try to stay around 5000K (neutral daylight). Avoid mixing warm and cool lights.
Do I need expensive gear?
No. You can start with basic tools like a speedlight, a reflector, and a tripod.
What’s the fastest way to improve lighting?
Use bounce flash + natural light and learn basic editing techniques.
Final Thoughts
Lighting is one of the fastest ways to improve your real estate photography.
When your photos look bright, clean, and professional, clients will trust you more, and properties may sell faster.
Practice using both natural and artificial light. Experiment with flash and reflectors. Over time, you’ll learn to light any room beautifully.
If you still have any doubts related to real estate photography lighting tips, feel free to comment below. I’ll be more than happy to help you.

